
One of the features that Kadence Theme Kit Pro adds to the Kadence theme is called Hooked Elements (or Element Hooks) which provides an interface to build an element using the WordPress Gutenberg editor (or custom code) and hook it to one of the several locations on your site’s pages so it appears exactly where and when you want.
In short, element hooks allow you to add content in different areas of a page, with unlimited customization options.
One possible use case would be for adding a notification bar above the site header for announcements that automatically expire after a set date for seasonal banners.
Here’s a detailed walkthrough on how an affiliate disclosure text can be automatically added above the entry content for all posts that have a specific tag:
Step 1
Install and activate the Kadence Theme Kit Pro plugin. It is included in Kadence Plans and can also be purchased individually.
Enter your license key and email at Appearance > Kadence if you have not already.
Enable Hooked Elements.

Step 2
Click on the Customize link to be taken to the Elements page. This page can be reached via Appearance > Kadence > Elements.
Click Add New to add a new element.

Here you are presented with four options.
CONTENT SECTION lets you build the element using the Customizer blocks.
FIXED SECTION allows you to create content that is fixed to your site.
TEMPLATE lets you make templates that replace sections like a sidebar or page.
HTML EDITOR lets you build your element using HTML code.
In this example, we shall go with the CONTENT SECTION.
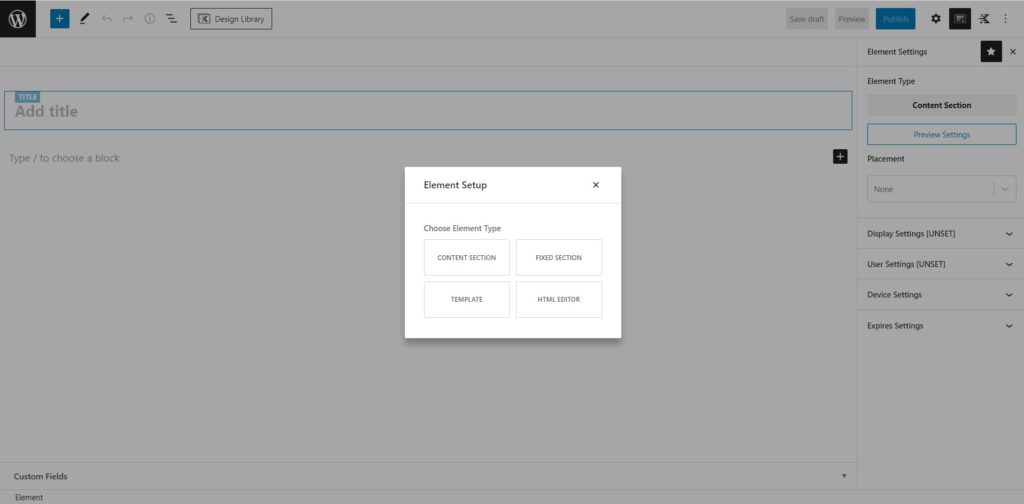
Enter a title and the content for your element.
Click on the Element Settings icon next to the gear icon near the top right.

Configure the element’s behavior by selecting where it should appear.
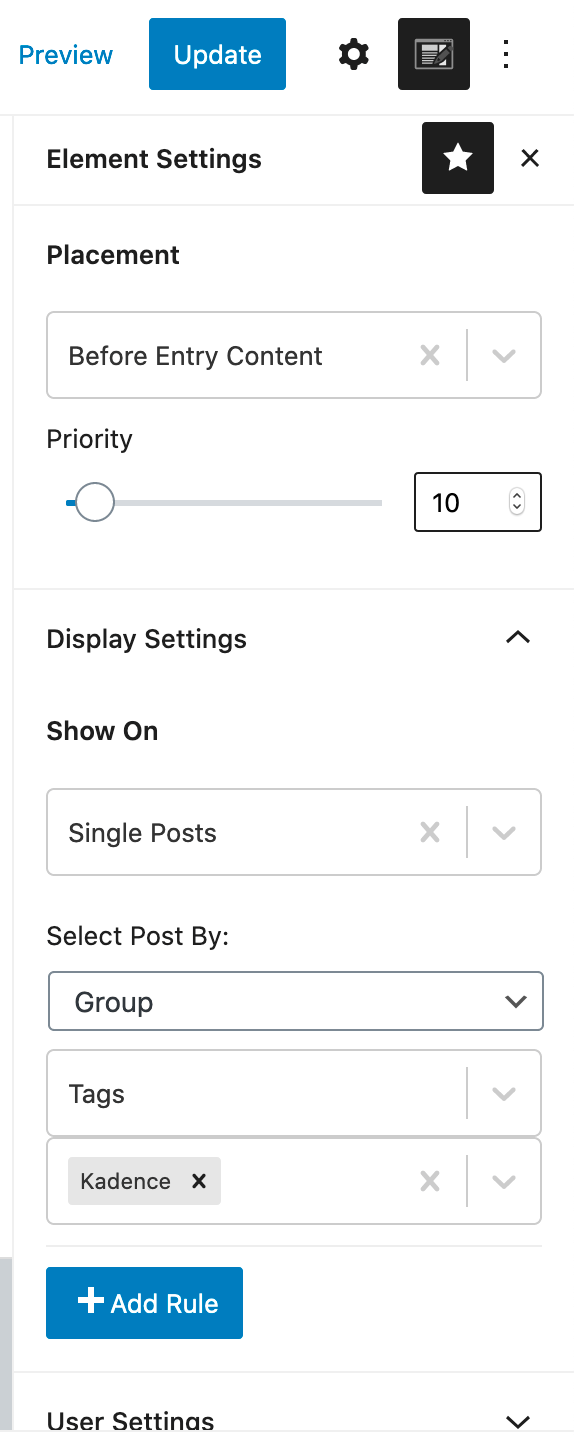
In this example, we have set the element to be added before entry content on all single posts that are tagged Kadence.
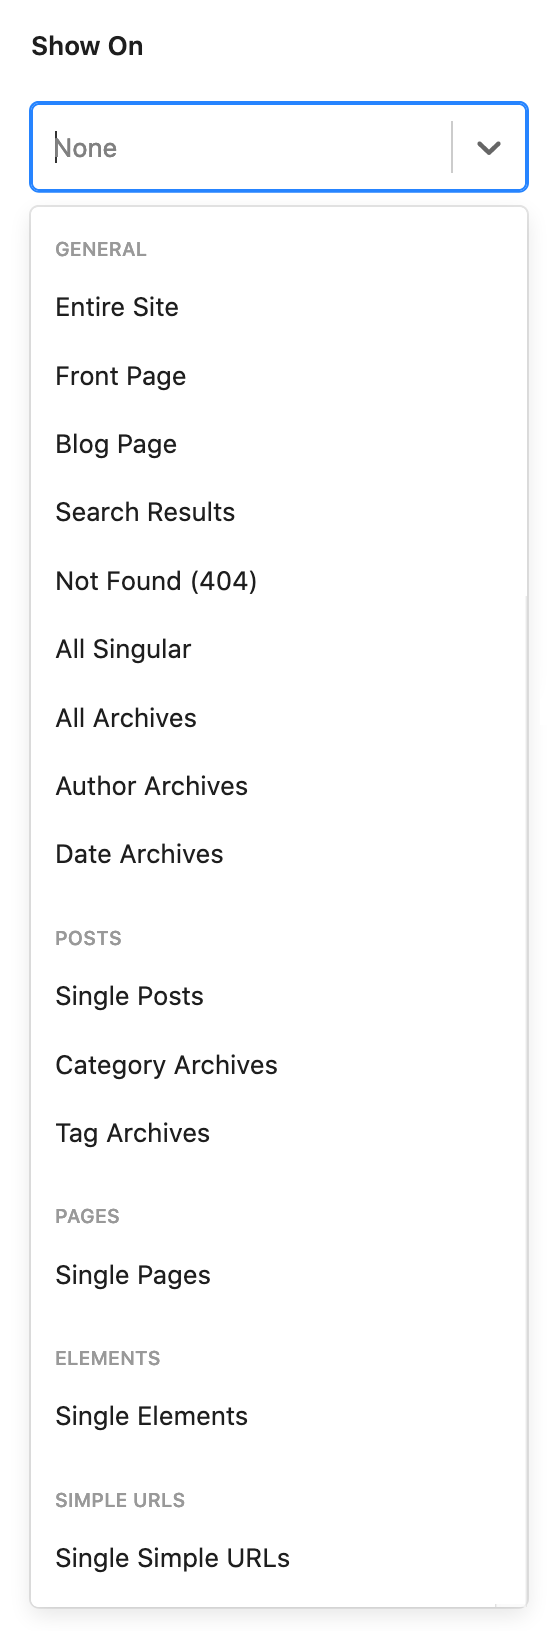
The screenshot below shows all the options in the Display Settings‘ Show On dropdown:
The screenshot below shows all the options in the Placement dropdown:

What is a Custom Hook?
The dropdown list for element hook placement includes the most commonly used hooks. However, it is not possible to include every available hook from the theme and plugins.
That is why there is an option to specify a custom hook. You can use this if you are familiar with an existing hook in your theme or plugin that you would like to target. Please note that:
- The hook must already exist in the theme or plugin. This feature only lets you hook into existing hooks, it does not create new ones.
- Using custom hooks requires a deeper understanding of the theme or plugin code, since you will need to know the exact hook name and where it is applied.
An element with a higher priority hooked to the same location as another will appear below or after the one with lower priority in the HTML output.
Note: A specific tag or category will appear under the "Select Posts By:" only if there is at least one published post having that tag/category.
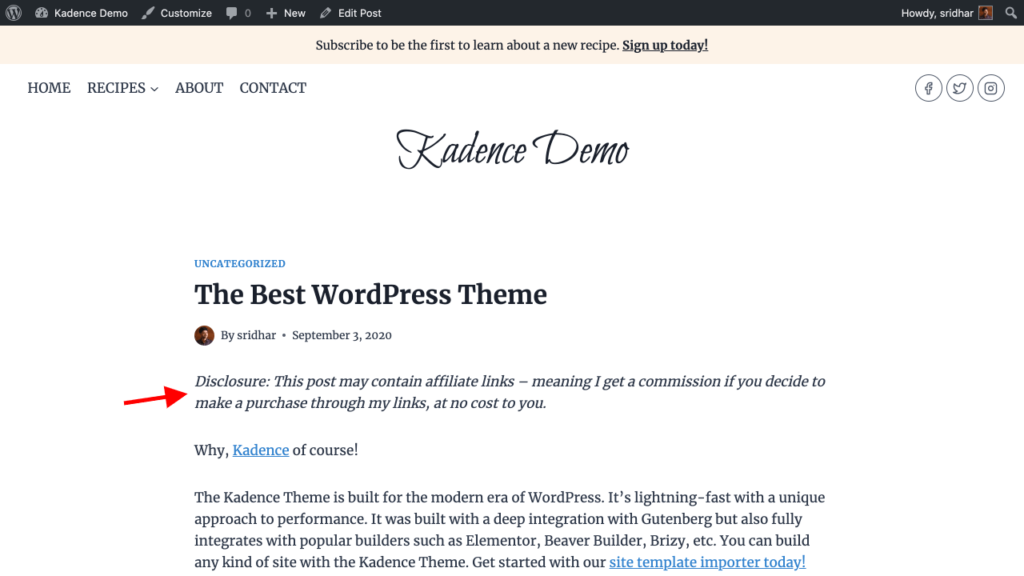
Publish your changes.
Here’s the result:
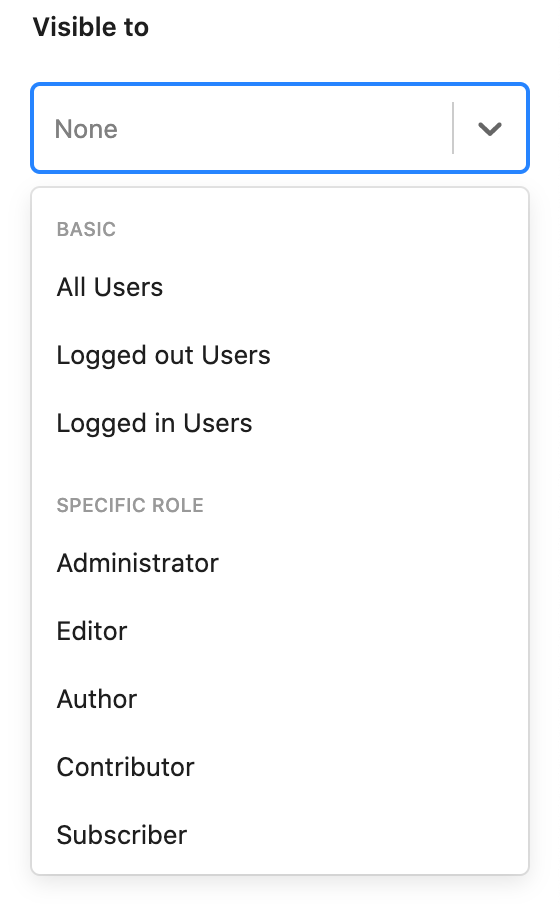
User Settings
User Settings section enables you to specify whether the element should be shown to all users, only the logged-out, the logged-in, or users having a specific role.
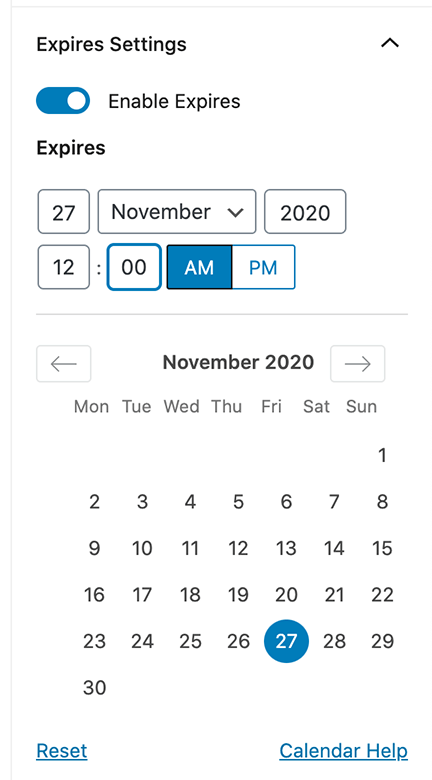
Expires Settings
Expires Settings section enables you to specify whether the element should automatically be removed (not shown) at a specified date and time.
Viewing Elements on a Page
When using the Admin Toolbar, you can view the current number of elements on a specific page. This makes it easier to track where Elements are being used.
Hover over the element count to directly edit any of the listed elements on the page. Just click on the element you wish to edit, and it will open up within the element editor.
